IMPORTANT: Providers must not refuse or delay when a woman asks to have her implants removed, whatever her reason—whether it is personal or medical. All staff must understand and agree that she must not be pressured or forced to continue using implants. If the implants may be difficult to remove, a provider with the necessary skills should be available. Removals should be provided free of charge if possible.
Explaining the Removal Procedure to the Client
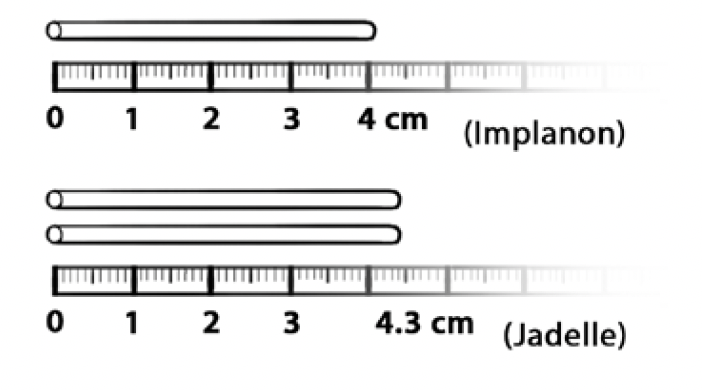
A woman needs to know what will happen during removal. The following description can help explain the procedure to her. The same removal procedure is used for all types of implants.
The provider should ask whether the woman wants to continue preventing pregnancy and discuss her options. If she wants new implants, they should be placed above or below the site of the previous implants or in the other arm.
Removal Procedure for Implants
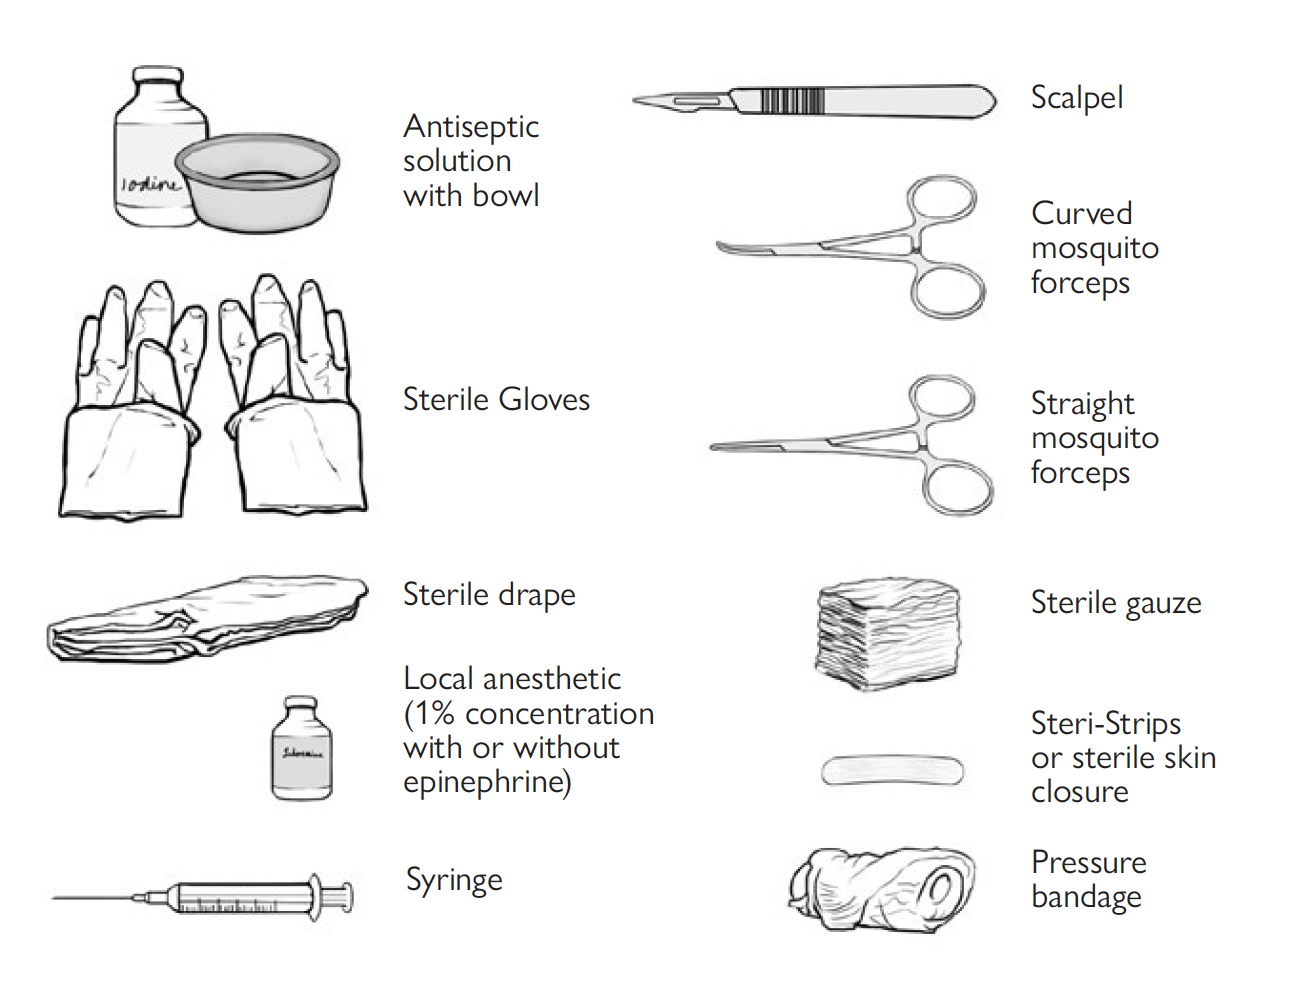
The provider should ensure that the essential equipment, and supplies, are available (see below). The provider should use proper infection-prevention practices throughout the procedure.
Steps for the Removal Procedure
|
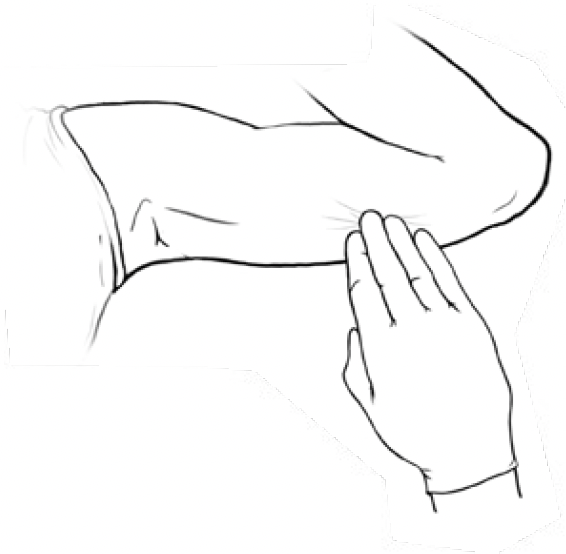
| 1 |
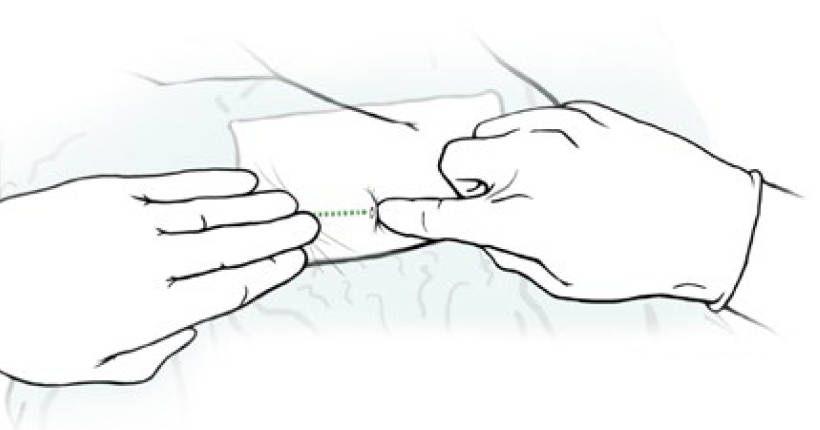
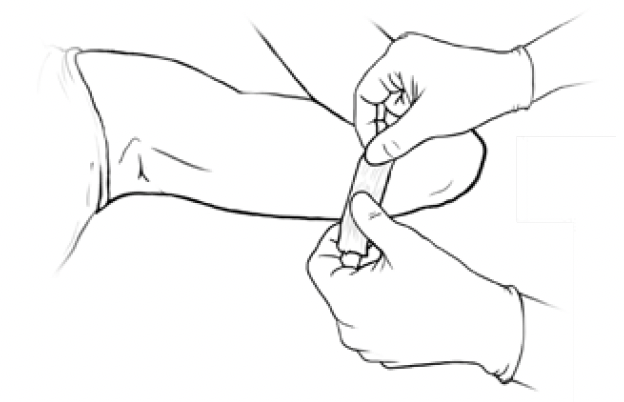
- Locate 1- or 2-rod implant by palpation and pressing down. Refer for further examination if not located. Determine location of the distal end of the implant by palpation and mark this as the incision site.
- If the implant cannot be located, check both of the possible insertion sites (A and B), as well as both arms. If it is not possible to find the implant, refer the woman for further examination.
|
 |
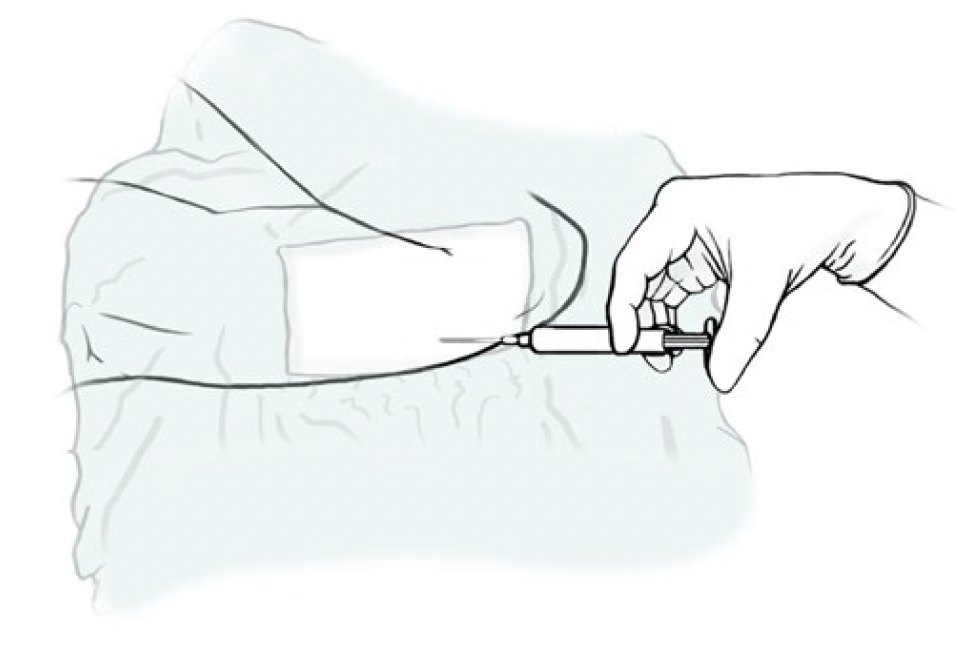
| 2 |
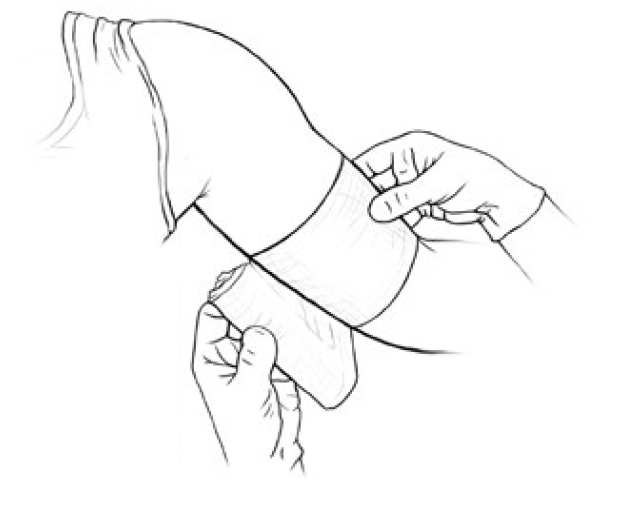
- Prep insertion site with antiseptic solution and drape.
- Inject 1–2 mL of 1% lidocaine just under the implant so as not to obscure it. If this is a 2-rod system, inject between the 2 rods.
|
 |
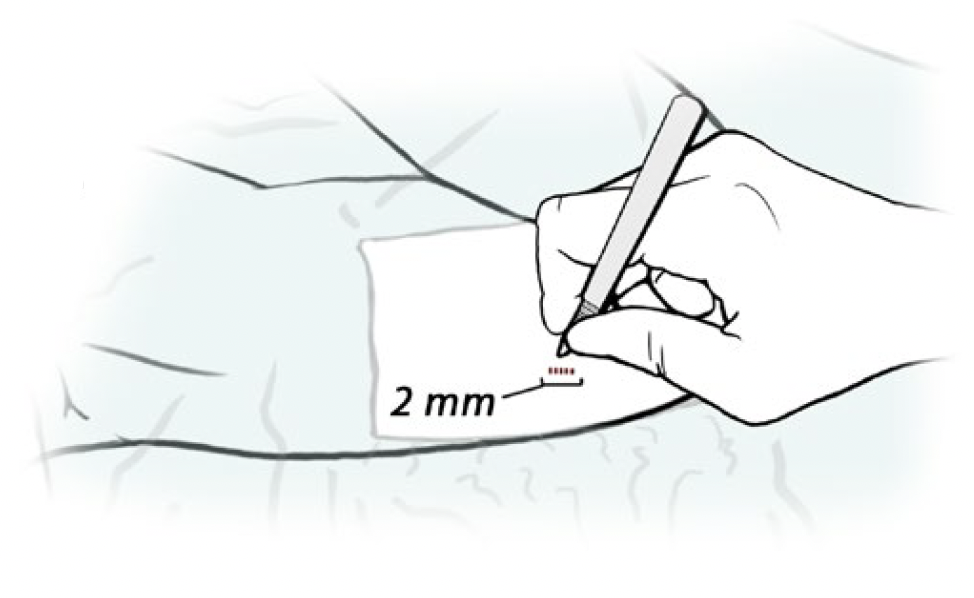
| 3 |
- Make a small (2 mm) stab incision, at the tip(s) of and parallel to the implants.
|
 |
| 4 |
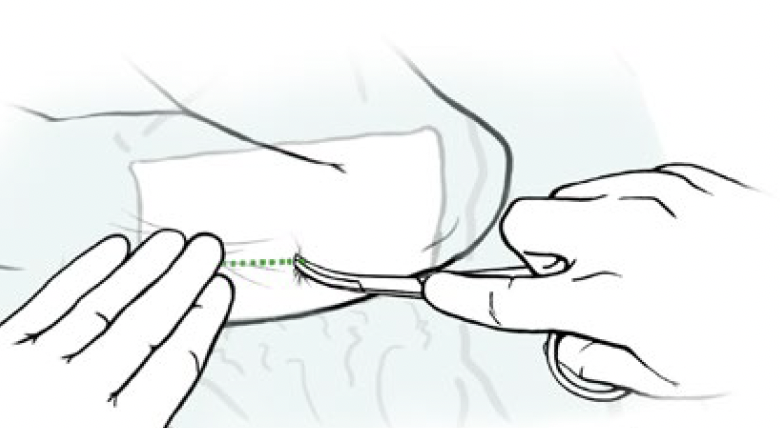
- Push the implant(s) toward the incision until the tip is visible. If this a 2-rod system, remove them 1 at a time.
|
 |
| 5 |
|
|
| 6 |
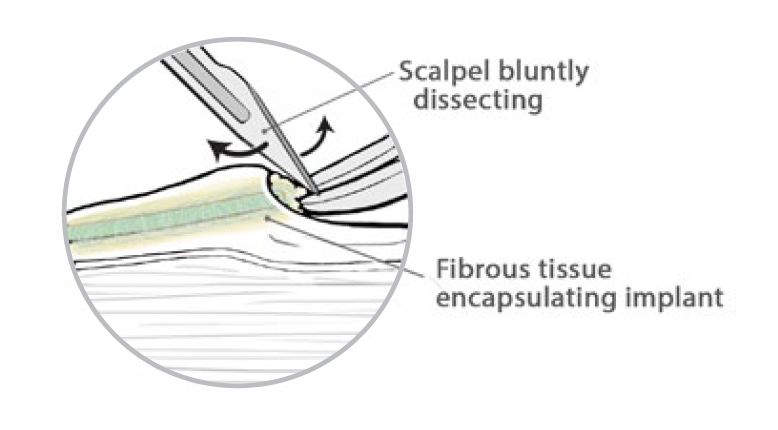
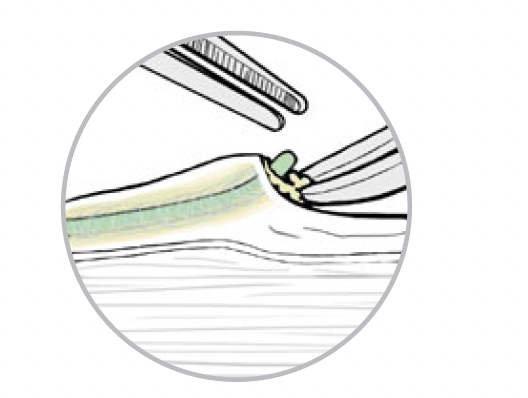
- If the tip of the implant does not become visible in the incision, insert a forceps tip into the incision, grasp the implant and remove fibrous tissue with back of scalpel blade and/or gauze.
|
 |
| 7 |
- After the implant is exposed, grasp with second pair of mosquito foceps and gently remove it.
|
 |
| 8 |
- Ensure that the complete rod has been removed; show it to the client. If this is a 2-rod system, repeat steps 4–7 to remove the second rod.
|
 |
| 9 |
- Close the incision site with a sterile skin closure.
|
 |
| 10 |
- Apply pressure bandage dressing to minimize bleeding and bruising.
|
 |